Step 1
Buy a domain (e.g., example.com). I used "godaddy.com / domains.google.com / so more, but you can use any number of domain name registries.
Step 2
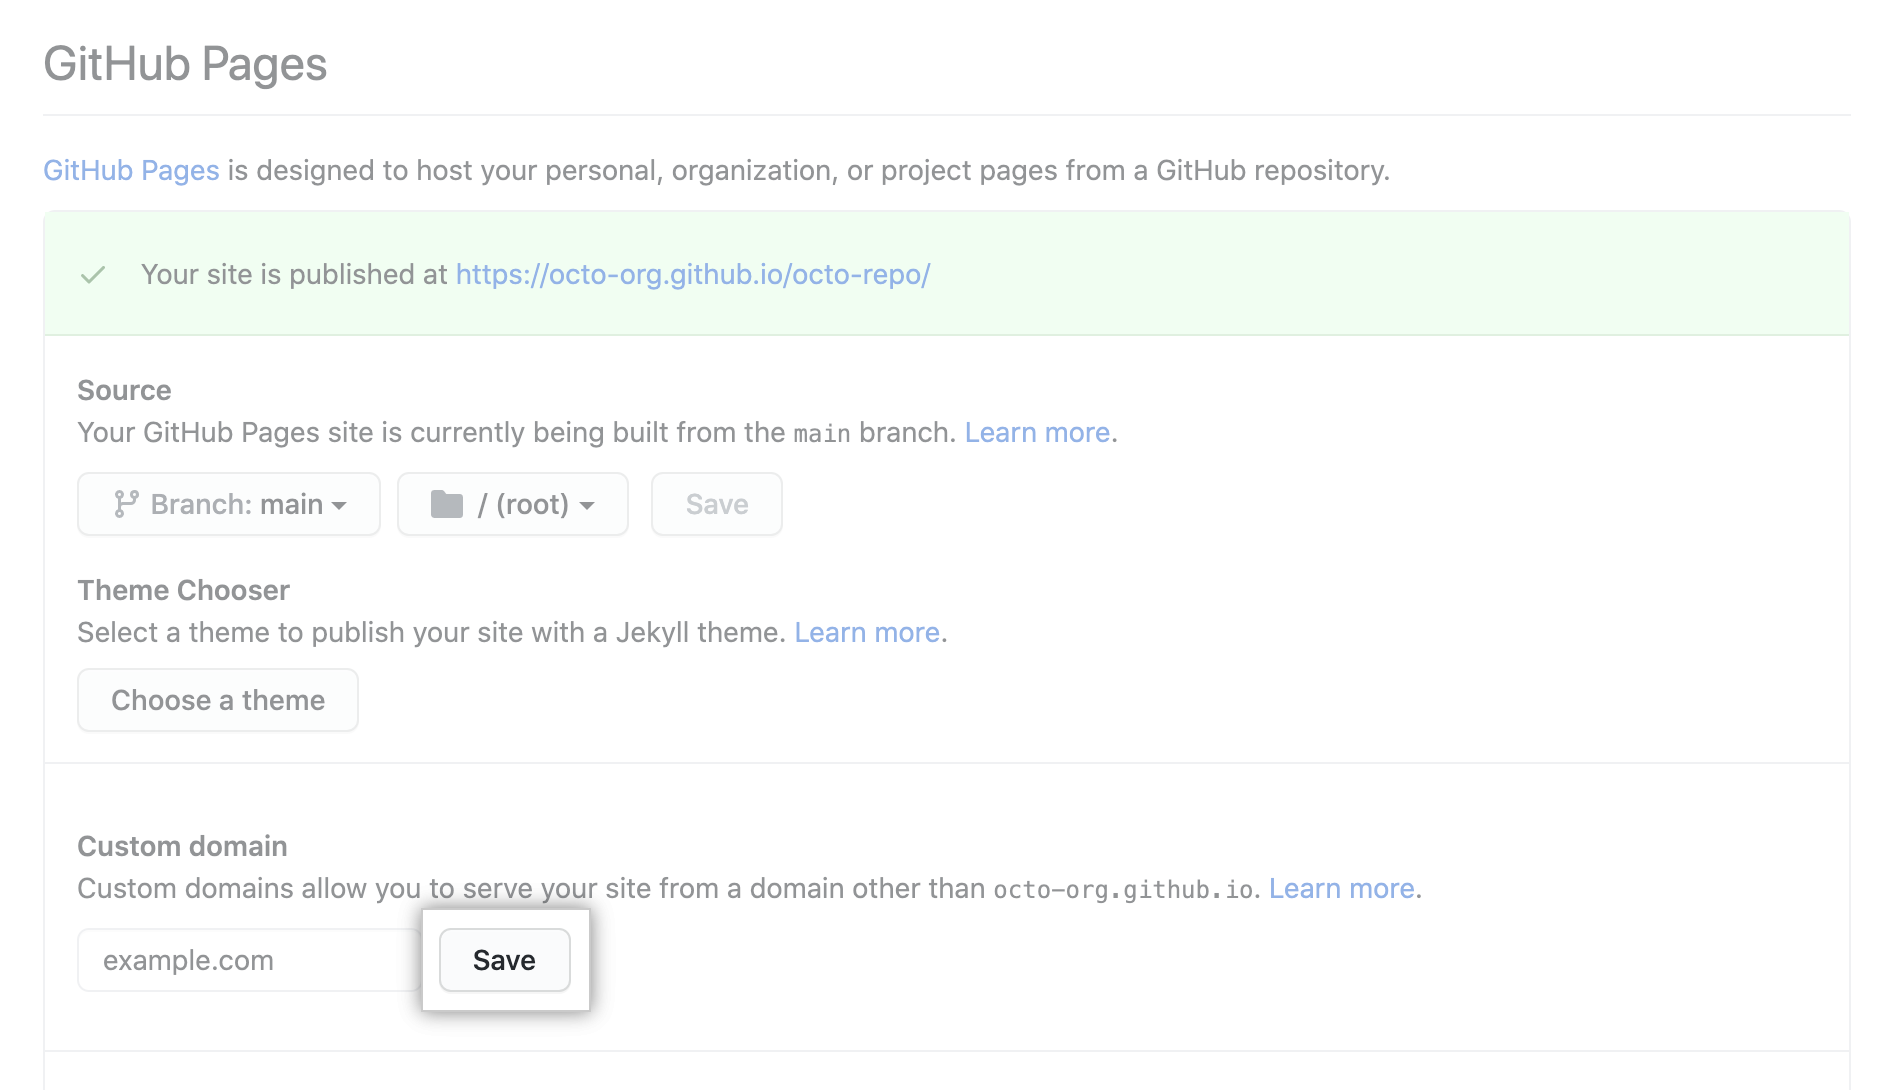
In your github.io repository Settings, add the domain you purchased in Step 1 to the “Custom domain box”:
Under "Custom domain", type your custom domain, then click Save. This will create a commit that adds a CNAME file in the root of your publishing source.
Step 3
In your DNS Management console, add a CNAME record with the following parameters:
- type = CNAME
- name = www
- value = example.github.io.
Meaning: This tells your DNS to point www.username.com requests towards
the site hosted at username.github.io. Set the TTL (time to live) to an
hour or less.
Next, in your DNS Management console, add 4 separate A records with the following information:
- type = A
- name = @
- points to (value) = IP
Meaning: “A” records connect your domain name (hosted by your DNS) to the actual IP addresses where your site lives on a server (at Github).
Official References: For most up to date IP Addresses, use GitHub’s official documentation and for setting up CNAME use this documentation.
UPDATE 1: The IP addresses for DNS
A record is updated. The new IP addresses are required to use the free
HTTPS support for GitHub pages.
UPDATE 2: Some people said this change is not working, it is
actually because the DNS update can take upto 48 hours to propagate. So, I guess try hitting your domain next
day
NOTE 1: Even though it’s very obvious, you should replace
YOUR-GITHUB-USERNAME and your-domain.com with your personal github username and domain name you are trying to
use respectively.
▬▬▬▬▬▬▬▬▬▬▬▬▬▬▬▬▬▬▬▬
If any Photos/Videos/Article/Blog/Content has an issue with this upload, please contact us and we will remove it immediately. Contact E-Mail :lawtantra@gmail.com
▬▬▬▬▬▬▬▬▬▬▬▬▬▬▬▬▬▬▬▬


0 Comments
Please do not enter any spam link in the comment box.